
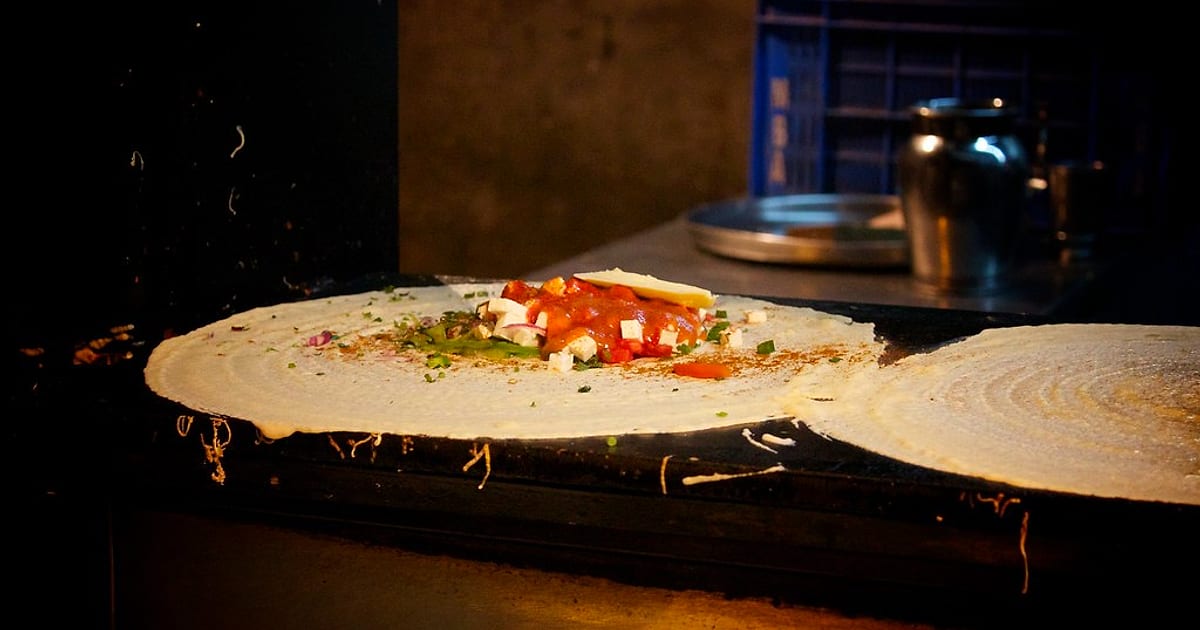
You can smell the dosa before you see it. Hot oil, a little sourness from the batter, then the sound of a ladle swirling on the tawa. And yet the dosa on your plate is thick, pale and soft, nothing like the paper-thin golden one from a good tiffin room. The fix is rarely a secret recipe. A crispy dosa comes from three things: a batter that pours easily, a tawa that is hot enough but not too hot, and a quick, light spreading motion. This guide takes you through all three, step by step.
What “crispy” really means
A dosa is crispy when it is thin and mostly dry. Think of the difference between a wet cloth and a dry one. A thin layer of batter loses its water quickly on a hot tawa, so it turns golden and snaps. A thick layer keeps its water inside and stays soft.
This is why every good tip below is really about one idea: get the batter thin and cook it fast. Chef Sanjeev Kapoor is quoted in a news report saying that the real secret is thin batter and even heat. A thin layer cooks faster and becomes crispier, and a thick, heavy-bottomed tawa spreads heat more evenly. That last point is good news if you cook on cast iron, because cast iron is thick and heavy by nature. You can read more in India TV’s report on his tips.
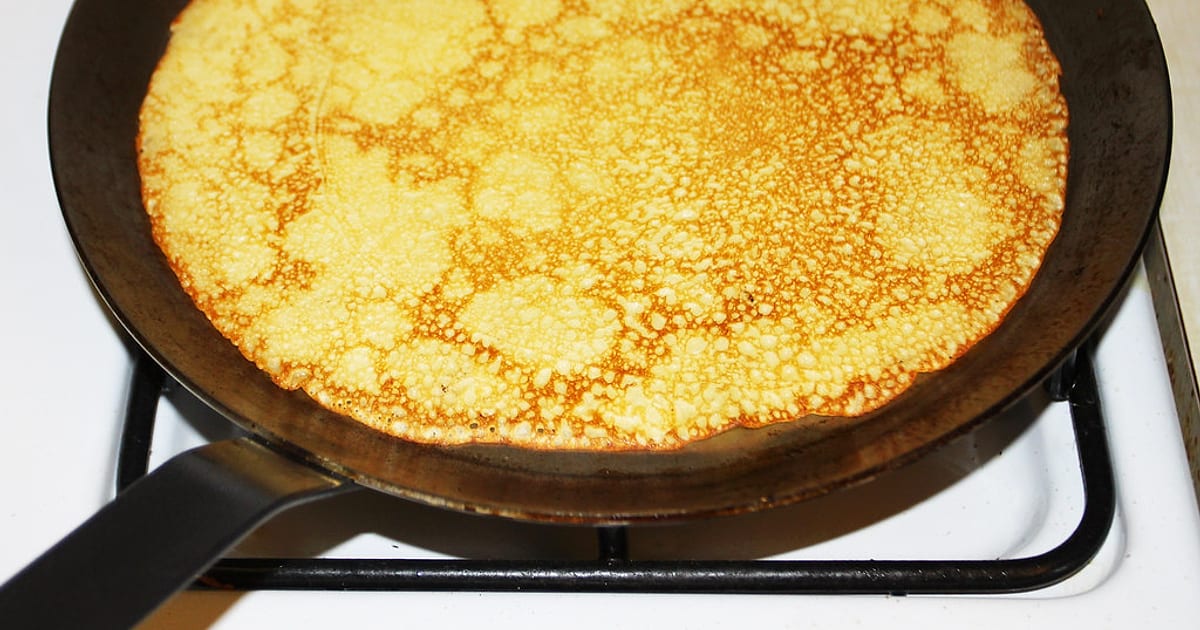
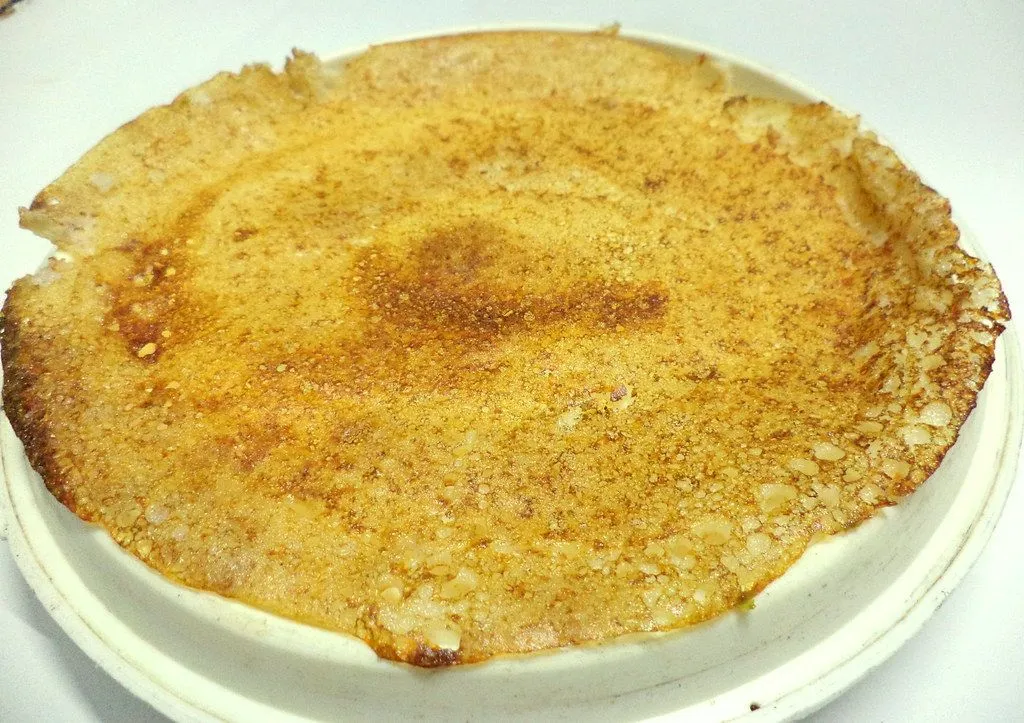 A thin, golden dosa with crisp, lacy edges. Photo: Devika_smile, CC BY-SA 2.0.
A short history, so you know what you are making
Dosa is old. The Wikipedia article on dosa notes that food historian K. T. Achaya reads references in ancient Tamil literature as a sign that dosa was known in the Tamil country about two thousand years ago, though the dating is debated. Others link its origin to Udupi in Karnataka. The same article describes how the softer, thicker style from Tamil Nadu differs from the thinner, crisper version that spread across India. Nobody can say for sure who made the first one. What we do know is that cooks have been chasing a crisp dosa for a very long time. See Wikipedia’s dosa article for the full discussion.
Step 1: Get the batter right
Most home dosa problems start in the batter bowl, so give this step some care.
The basic mix
Dosa batter is made from rice and urad dal (split black gram), soaked, ground and left to ferment. Swasthi’s Recipes gives a basic version with half a cup of urad dal, two tablespoons of chana dal and half a teaspoon of methi (fenugreek) seeds, with one and a half cups of raw rice soaked in a separate bowl. Both are soaked for several hours, ground and left to ferment overnight in a warm place.
The ratio of urad dal to rice changes from home to home. The same source notes that Karnataka commonly uses about 1:3, Andhra Pradesh about 1:2, and Tamil Nadu and Kerala about 1:4. There is no single right answer. For crispness, many cooks lean towards more rice. Swasthi’s masala dosa recipe says the extra half cup of rice makes the dosa more crisp and keeps it crisp for longer.
Fermentation
Fermentation means the batter is left to rest until it puffs up with tiny bubbles and smells mildly sour. Those bubbles make the dosa lighter and easier to lift. Piping Pot Curry says the batter should be fermented until it develops tiny bubbles and a mildly sour smell.
Two practical tips:
- In winter, a cold kitchen slows everything. Swasthi’s Recipes says that without adding salt, her batter does not ferment, and that in winter she adds salt during blending to help it. Try it if your batter stays flat.
- Do not grind too smooth. One recipe suggests a slightly coarse batter, as a very smooth paste can give a softer, less crisp dosa.
The pouring test
Before you touch the tawa, check the batter. It should flow off the ladle in a steady ribbon. It should pour, but not run like water. Several sources describe it as being of pouring consistency but not runny. Swasthi’s Recipes also warns that batter that is very thin or very thick may not ferment well, so aim for the middle.
Here is a simple way to judge it:
| What the batter does | What it means | What to do |
|---|---|---|
| Falls in a thick lump | Too thick | Add water, one spoon at a time, and stir |
| Flows in a steady, smooth ribbon | Right | Start cooking |
| Runs like thin milk | Too thin | Add a spoon of rice flour or fine rava (semolina) and stir |
Fermented batter can thicken, so you may need to add a little water just before cooking. Stir gently from the bottom, because the batter settles. If it has been in the fridge, take it out early. Very cold batter cools the tawa the moment it lands.
Step 2: Heat the tawa, then test it
Cast iron takes its time to warm up, but once hot, it holds its heat well. That is a gift for dosas, because every new ladle of batter does not drop the temperature much. It simply needs patience at the start.
Put the tawa on a medium flame and let it heat for several minutes. A 30 cm tawa is a big piece of iron, and the centre and edges warm up at different speeds. Move it a little on the burner so the whole base gets its turn. On induction, follow your hob maker’s guidance on base size and weight, and give it a little extra time.
The water-drop test
Sprinkle a few drops of water on the tawa. Tarla Dalal’s dosa recipe suggests the tawa is ready when sprinkled water sizzles and evaporates quickly. Read what you see:
- Drops sit and steam slowly: too cold. Wait another minute.
- Drops sizzle at once and skip away in a second or two: right.
- Drops vanish with a sharp crack and the tawa smokes: too hot. Switch the flame off for a few seconds.
Why too hot is a problem
It is tempting to think hotter means crispier. It does not. If the tawa is too hot, the batter starts setting the instant it touches the metal. You cannot spread it, and you end up with a thick patch. The India TV report says pouring batter onto an overheated tawa is one of the most common mistakes, because the batter begins cooking immediately.
The easy fix is to cool the tawa just before the first dosa. Piping Pot Curry recommends cooling the pan slightly with a splash of water before spreading. Sprinkle a little water, wipe it with a cloth or half an onion, and you are ready.
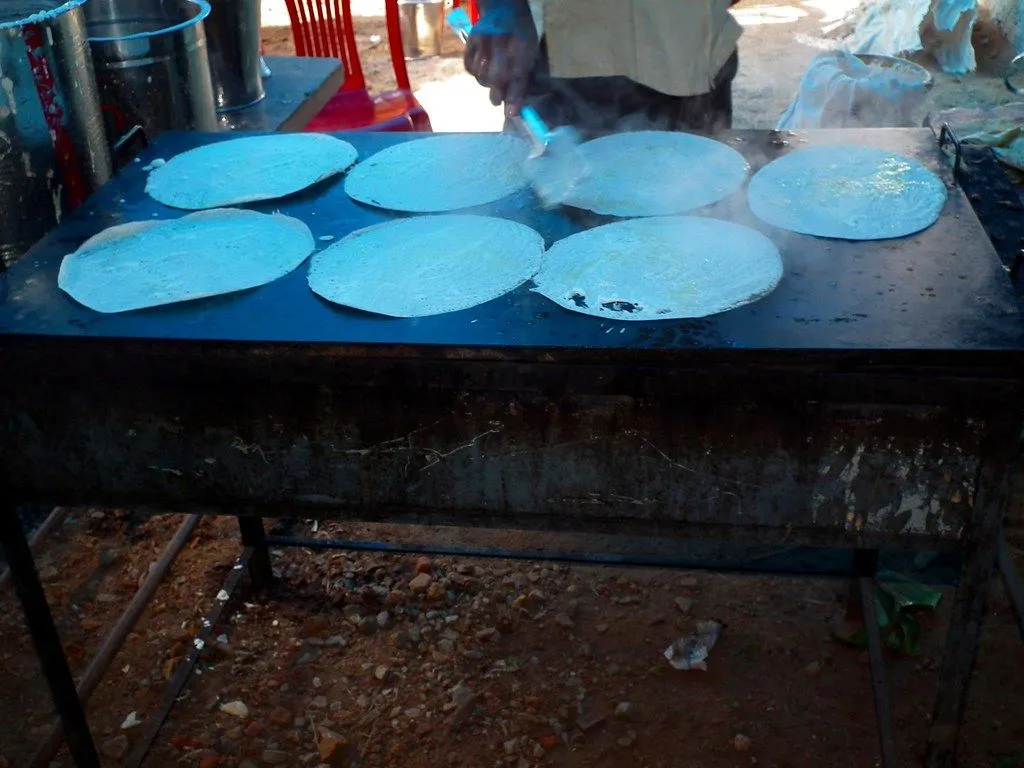 Thin dosas cooking on a large flat iron plate at a roadside stall. Heavy iron holds its heat across many dosas. Photo: Rameshng, CC BY-SA 2.0.
Step 3: Oil the surface lightly
Even a well-seasoned tawa likes a thin film of oil before each dosa. Seasoning is the thin, dark layer of cooking oil that has been heated onto the iron. It is what makes cast iron slick. If you want to know how it works, read our guide on how to season a cast iron tawa. RIVEDA tawas are supplied pre-seasoned, so you can begin cooking at once.
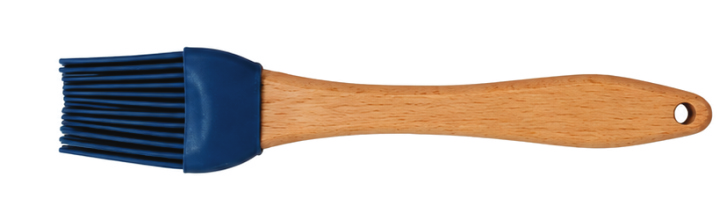
A Silicon Brush is handy here. Dip it in oil, tap off the extra and paint a very thin film across the tawa. Think of a film, not a puddle. Too much oil makes the dosa fry and go greasy instead of crisp. A dry, dull surface, on the other hand, gives the batter something to cling to.
Step 4: Pour and spread
This is the part everyone worries about. The good news is that it is mostly rhythm.
- Stir the batter once more so it is even.
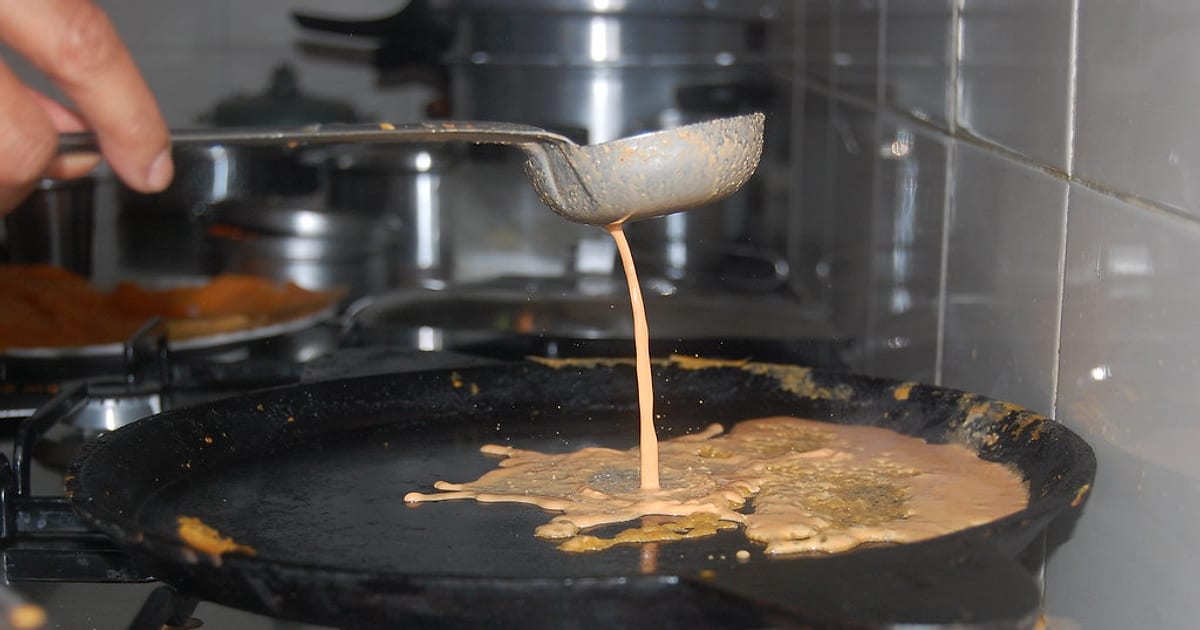
- Hold the ladle low, close to the tawa. Pouring from a height splashes and makes a thick spot.
- Pour one ladle in the centre. For a 30 cm tawa, a ladle is usually a good start. You can adjust after the first one.
- Spread at once, using the back of the ladle. Start at the centre and move outwards in light circles. Sanjeev Kapoor’s tip, as reported, is to spread evenly in circular motions from the centre outwards.
- Do not press. Let the ladle glide. Pressing tears the batter and scratches the surface.
- Stop when it is thin. If you keep going, the batter starts to set and the dosa will tear.
If the batter sets before you can spread it, the tawa is too hot. If it will not spread and stays sticky and wet, it is too cold or the batter is too thick. Our article on dosa sticking to the tawa goes through each cause in detail.
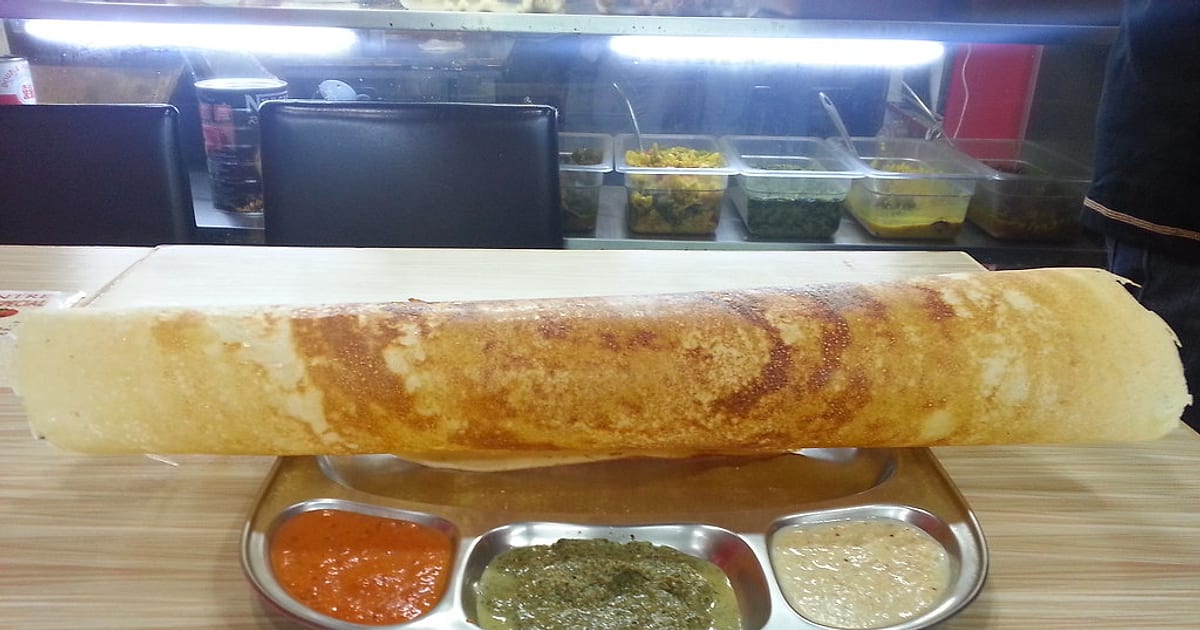
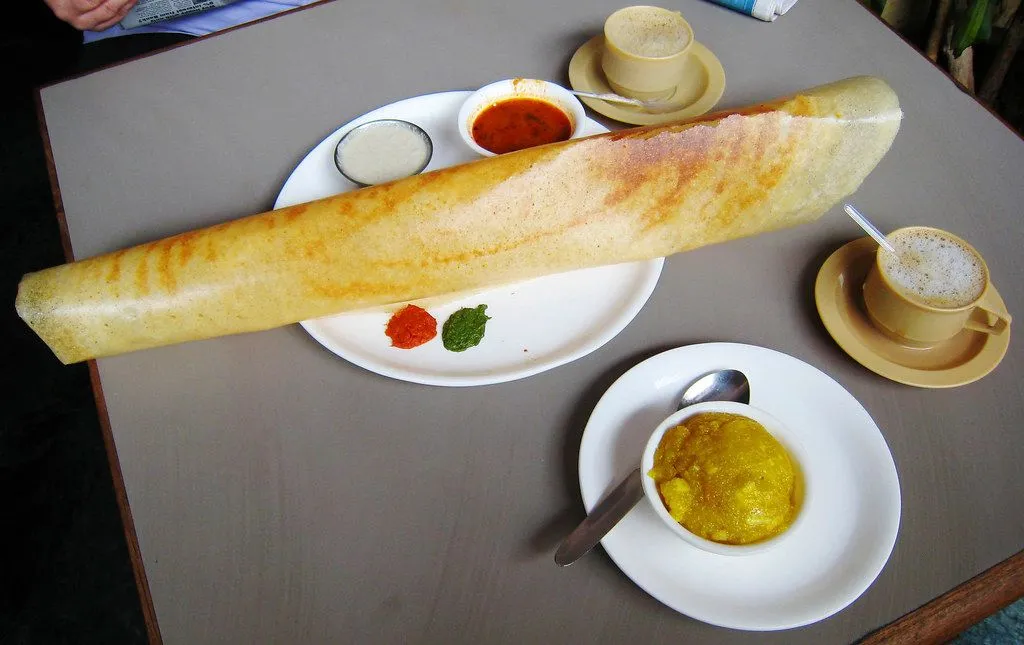 A paper dosa, spread so thin that it is longer than the plate. Photo: Charles Haynes, CC BY-SA 2.0.
Step 5: Crisp it and lift it
Once the batter is spread, drizzle a little oil or ghee around the edges and over the top. Some cooks add a little more in the centre. This helps browning and gives the dosa a nice smell.
Now wait. The top changes from wet and shiny to dry and matt. The edges turn golden and curl slightly away from the tawa. This is your signal. For a plain crispy dosa you do not need to flip it. Cook it until it is a deep golden colour, then roll or fold it and slide it out. If you are making a masala dosa, add the filling just before folding.
Slide a thin, flat spatula under the edge first. Move gently. If it resists, wait twenty seconds. Do not dig into the middle. A dosa that has crisped will release by itself.
The first dosa
The first dosa is almost always the worst. The tawa is still settling its heat and oil film. Do not worry. Treat it as a test dosa, or use it to check your batter and flame. By the second or third, the tawa is steady.
Between dosas
Wipe the tawa with a little oil or a dry cloth between dosas. If it is getting too hot, sprinkle a few drops of water and wipe. Do not wash it between dosas.
A quick troubleshooting table
| What you see | Likely reason | Fix |
|---|---|---|
| Dosa is soft, pale and floppy | Too thick, or flame too low | Spread thinner, raise the heat a little |
| Dosa is crisp outside but raw and wet inside | Tawa too hot, thick layer | Cool the tawa, thin the batter |
| Lacy, tears when lifted | Batter too thin | Add a spoon of rice flour or rava |
| Spreads unevenly, with thick patches | Tawa too hot, or you started late | Cool with water, spread faster |
| Browns only in the middle | Uneven heat | Preheat longer and move the tawa on the burner |
| Sticks and tears | Cold tawa, dry surface or thin seasoning | Heat fully, brush a thin film of oil, see our sticking guide |
Choosing a tawa for crispy dosas
You can make a crispy dosa on many surfaces, but the shape and weight of the tawa shape your routine.
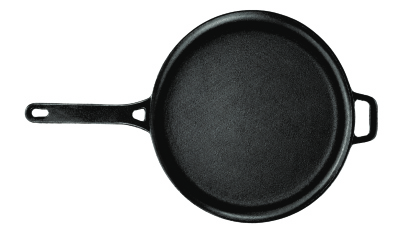
- A long handle keeps your other hand free for the ladle. The RIVEDA Cast Iron Long Handle Dosa Tawa 30 CM has one long handle with a helper grip opposite, and weighs 2.2 kg.
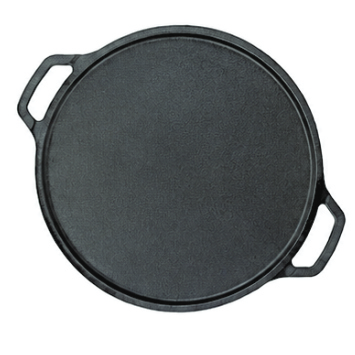
- Two handles make the tawa easy to lift with both hands and keep it compact on the stove. The RIVEDA Cast Iron Double Handle Dosa Tawa 30 CM is heavier at 2.8 kg, so it holds heat well across a long batch.
Both have a 30 cm cooking surface. They are cast and finished at our own ZED-certified foundry in Rajkot, Gujarat, and go through grinding, sand cleaning, quality checks and seasoning before dispatch. They work on gas and induction. Always follow your hob maker’s guidance on base size and weight. For a longer comparison, read our guide to the best dosa tawa in India, or the cast iron tawa guide. If you are cooking on induction, see cast iron on induction.
After the last dosa
Cast iron cleans up quickly if you do it while the tawa is still warm. Rinse with hot water, scrub with a brush, dry fully on the flame and rub on a very thin film of oil. Our care guide has the full routine.
Your next dosa morning, in one list
- Check the batter: it should pour in a steady ribbon.
- Heat the tawa on a medium flame until water drops sizzle and skip away.
- If it smokes, cool it with a splash of water and wipe.
- Brush on a very thin film of oil.
- Pour from low, spread from the centre outwards in light circles.
- Drizzle a little oil at the edges and wait for golden edges.
- Lift gently from the edge, fold and serve at once.
Make your first batch on a morning with no rush. Change only one thing at a time, such as the water in the batter or the time on the flame, and you will quickly see which one matters for your stove and your family’s batter. Within a week or two, the paper-crisp dosa stops being a restaurant trick and becomes your Sunday breakfast. For more ideas, browse our cooking guide or the tawas in our shop.
Shop this article
Frequently asked questions
How do I make a dosa crispy instead of soft?
Make it thin. Use a batter that pours easily, a tawa that is hot but not smoking, and spread the batter quickly in circles from the centre outwards. A thin layer cooks fast and turns crisp. A little oil around the edge helps, and a few extra minutes on the tawa dries the surface.
How thick should dosa batter be?
It should pour, not plop. Many recipe writers describe it as pouring consistency but not runny. If it falls off the ladle in a thick lump, add water a spoon at a time. If it runs like milk, the dosa will be lacy and may tear.
Why is my dosa not crispy even though the batter is good?
Usually it is the tawa or the thickness. A tawa that is too cold steams the dosa instead of crisping it, and a thick layer stays soft inside. Heat the tawa fully, spread thinner and give the dosa a little more time before folding.
Do I need to add rice for a crispy dosa?
Many cooks use more rice than urad dal for a crisper dosa, with ratios that vary by region. Swasthi's Recipes notes that an extra half cup of rice makes a masala dosa more crisp and keeps it crisp for longer. Find the ratio your family likes and keep it steady.
Can I make crispy dosa on an induction cooktop with a cast iron tawa?
Yes, cast iron tawas work on induction. Follow your hob maker's guidance on base size and weight, and give the tawa extra time to heat evenly before the first dosa.
Should I wash the tawa between dosas?
No. Wipe it with a dry cloth or a little oil between dosas. Wash it only at the end of cooking, dry it on the flame and rub on a thin film of oil.
Sources
- Authentic Dosa Recipe, How to make Dosa Batter — Swasthi's Recipes
- Masala Dosa Recipe (Restaurant Style) — Swasthi's Recipes
- Chef Sanjeev Kapoor reveals the trick to making crispy dosas every time — India TV News
- How to make Dosa (Crispy Dosa Recipe) — Piping Pot Curry
- Dosa Recipe (With Dosa Batter) — Tarla Dalal
- Classic Dosa Recipe — Veg Recipes of India
- Dosa (food) — Wikipedia
More on this topic: all recipes articles →
Pictures: crispy-dosa-recipe.jpg (cover) — IncrediblyNuming, CC BY 2.0; golden-dosa.jpg — Devika_smile, CC BY-SA 2.0; dosa-thattu.jpg — Rameshng, CC BY-SA 2.0; paper-dosa.jpg — Charles Haynes, CC BY-SA 2.0.
Follow the RIVEDA blog
One short email a week with new articles — cast iron cooking, care and recipes for Indian kitchens. No spam; unsubscribe in one click.