
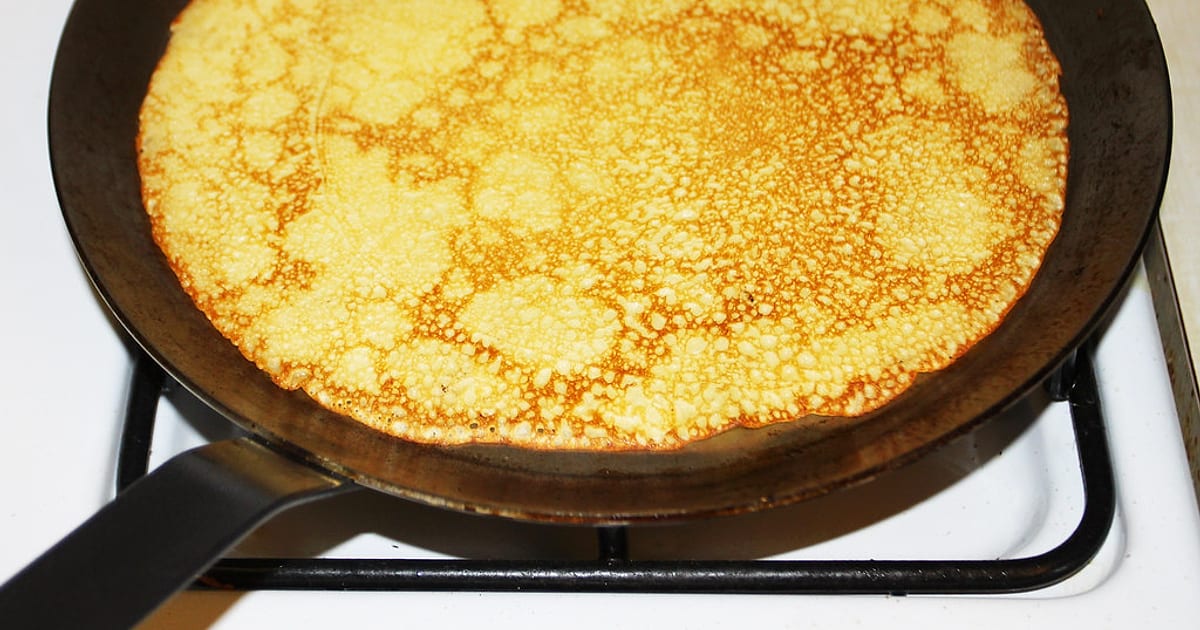
Seasoning a cast iron tawa means wiping a very thin film of oil onto clean, dry iron and heating it until the oil hardens into a smooth, dark layer. A pre-seasoned tawa only needs a wash, a dry on the flame and a light oiling before its first roti. After that, everyday cooking and a quick oil after each wash do most of the work, and a full re-season is only needed after rust or flaking.
This guide covers all three situations: a brand-new pan, everyday upkeep, and bringing a tired tawa back to life.
What seasoning actually is
Seasoning is not a coating bought in a factory and bonded to the pan. It is cooking oil that has been heated past its smoke point on the iron, where it changes from a liquid into a hard, slightly glossy film. Each thin layer bonds to the one below it.
That layer does three jobs on a tawa:
- It helps rotis, parathas and dosas release instead of sticking.
- It protects bare iron from moisture, which matters a great deal in monsoon humidity.
- It gets better with use, which is why an old family tawa cooks so well.
Because seasoning is built from many thin layers, the whole skill comes down to one idea: thin oil, enough heat, and patience. If you remember nothing else from this article, remember that.
Before you start: what you need
You do not need any special equipment. Most Indian kitchens already have everything:
- A gas stove or induction hob (follow your hob maker’s guidance on base size and weight)
- An everyday cooking oil
- A clean cotton cloth or kitchen paper
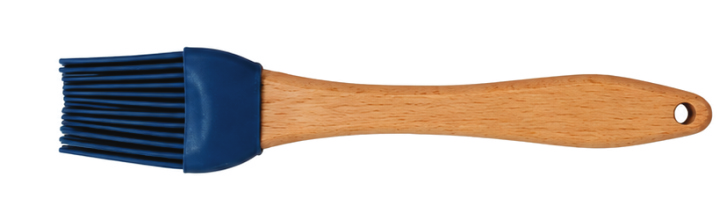
- A soft brush or a silicon brush for spreading oil thinly
- A sponge or soft scrub pad for washing; keep the steel scrubber for rust removal only
On oil: groundnut, sunflower, rice bran and mustard oil all season well. Ghee and butter contain milk solids that can burn and turn sticky, so keep them for the food, not the seasoning.
Seasoning a new pre-seasoned tawa
A pre-seasoned piece, like every RIVEDA tawa cast and finished at our foundry in Rajkot, arrives with a base layer already on it. You are not starting from bare metal; you are simply getting it ready and helping that first layer settle in.
- Wash. Rinse in warm water with a soft brush to remove dust from packing. A drop of mild soap is fine.
- Dry with a cloth. Wipe off all visible water straight away.
- Dry on the flame. Keep the tawa on a low flame for a few minutes until every bit of moisture has gone, including the underside and handle.
- Oil very thinly. While the pan is warm, put a few drops of oil on it and spread them over the whole surface with a brush or cloth. Then wipe most of it back off. It should look barely oiled, not wet.
- Heat until it smokes lightly. Raise the flame to medium and let the thin film heat until it gives off a light wisp of smoke and the surface looks a shade darker and less shiny.
- Let it cool on its own. Turn off the flame and leave it to come to room temperature. Never cool hot cast iron with water.
For the first few uses, choose foods with some oil in them, such as parathas, a shallow-fried tikki or a tadka in a kadai. Rotis and phulkas made on a dry tawa are perfectly fine too; they simply add less to the seasoning in the first week. You can read our own steps on the seasoning page.
Everyday upkeep after cooking
This is the real seasoning process. A tawa that is used daily and cared for in two minutes after each use will build a better surface than any one-off routine.
After cooking:
- Let the tawa cool until it is warm, not scorching.
- Wash with warm water and a soft brush or sponge. Scrape off any stuck atta with a wooden or silicon spatula.
- Wipe dry with a cloth.
- Put it back on a low flame for a minute or two until fully dry.
- Spread a few drops of oil, wipe it back, and switch off the flame.
- Store it somewhere dry and airy, not sealed in a damp cupboard.
If you make rotis on the same tawa every day, you can often skip the soap entirely and just wipe and rinse. The goal is simple: never put the tawa away wet, and never leave it without a whisper of oil. Our care guide has more detail on storage and stacking.
Full re-seasoning, step by step
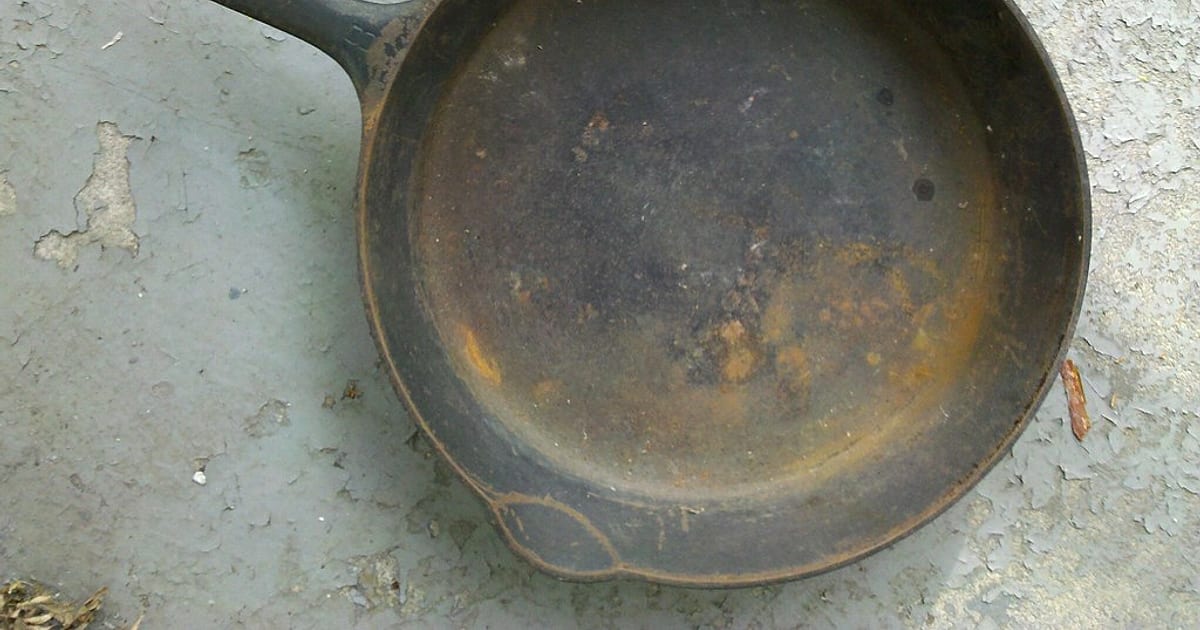
Sometimes a tawa needs a fresh start: after rust, after the surface has flaked, or after it has been left unused for months and gone dry and patchy. If there is visible rust, deal with that first; our guide to removing rust from cast iron walks you through it.
Clean back to a sound surface
Scrub the tawa with a steel scrubber and a little dishwashing liquid until the loose, flaky or rusty areas are gone. You do not need to strip it to grey metal everywhere; any smooth, firmly attached black layer can stay. Rinse well.
Dry completely
Wipe it dry, then heat it on a low to medium flame for several minutes. Bare patches of iron can rust within minutes when wet, so do not leave it on the counter at this stage.
Build thin layers on the stovetop
- With the tawa warm, spread a few drops of oil over the cooking surface, edges and underside.
- Wipe it back with a clean cloth until it looks almost dry.
- Heat on medium until the film smokes lightly and the surface darkens slightly.
- Keep it on the flame until the smoke reduces, then switch off and let it cool.
- Repeat the oil, wipe, heat and cool cycle two or three times.
Open a window or run the chimney; a little smoke is part of the process. On a gas stove, move the tawa now and then so the edges get heat too.
A note on oven seasoning
Home cooks commonly use a hot oven (around 200–230 °C) for about an hour, pan upside down so excess oil drips off. That is general practice rather than a RIVEDA instruction, and the stovetop method above does the job well.
Signs of good seasoning
You do not need to judge seasoning by looks alone. A well-seasoned tawa shows itself while you cook:
- Colour: an even dark brown to black, with a soft satin sheen rather than a wet shine.
- Feel: smooth and dry to the touch, never tacky.
- Release: a roti or dosa lifts without tearing once the tawa is properly hot.
- Water: a few drops of water bead up and skate across the warm surface.
- Washing: it cleans quickly with water and a soft brush.
Patchy or dull areas in the first weeks are normal. Seasoning builds unevenly, especially at the edges where food rarely sits. Keep cooking and keep oiling lightly, and the colour evens out.
Common seasoning mistakes and how to fix them
Almost every seasoning problem comes from one of a handful of mistakes. The good news is that cast iron forgives all of them.
| Mistake | What you notice | How to fix it |
|---|---|---|
| Too much oil | Sticky, tacky or gummy surface | Heat until the smoke stops; if still sticky, scrub back and redo with thinner layers |
| Thick layers built up over time | Black flakes coming off | Scrub off the loose flakes, then rebuild with very thin coats |
| Not hot enough | Oil stays shiny and soft | Heat longer until it smokes lightly and darkens |
| Air-drying on a rack | Orange rust spots | Scrub the rust, dry on the flame, oil thinly, heat |
| Soaking overnight | Dull, rusty patches | Same as rust; never leave it standing in water |
| Cooling with cold water | Risk of warping or cracking | Always let hot iron cool on its own |
The first two are the most common. If you are unsure, wipe off more oil than you think you should.
Food sticking is not always a seasoning problem
When a roti or dosa sticks, the cause is usually heat, not seasoning. Cast iron takes longer to warm up than a thin pan, so preheat on a low to medium flame for a few minutes and test with a sprinkle of water. For dosas, a quick wipe with an onion half dipped in oil before each one helps the batter spread and release. For more on choosing and using the right pan, see our cast iron tawa guide.
Picking a tawa that is easy to season
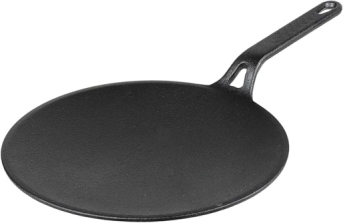
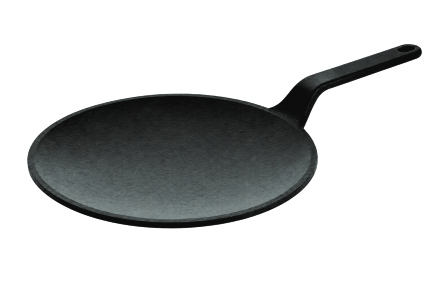
Every tawa seasons the same way, but a few details make daily care easier. A smaller, lighter tawa is quicker to wash and dry on the flame, which helps you stick to the routine. The Cast Iron Roti Tawa 22 cm is compact and light for everyday rotis and phulkas, while the Cast Iron Roti Tawa 26 cm gives you more room for parathas.
Whichever you choose, a RIVEDA tawa reaches you pre-seasoned, so your job is upkeep rather than starting from scratch.
Start cooking, the seasoning will follow
Seasoning is not a test you pass once. It is a habit: wash, dry on the flame, a few drops of oil, and cook often. Keep the layers thin and the pan dry, and your tawa will keep getting better for years. If you are choosing your first one, browse our tawas or start with the Cast Iron Roti Tawa 26 cm, and keep the seasoning guide handy for your first week.
Shop this article
Frequently asked questions
Do I need to season a pre-seasoned cast iron tawa?
Not before first use. Wash it, dry it on the flame and wipe on a thin film of oil. Cooking regularly and oiling lightly after each wash builds the seasoning further over the first few weeks.
Which oil is best for seasoning cast iron in India?
Any everyday cooking oil you already use works, such as groundnut, sunflower, rice bran or mustard oil. How thin you apply it matters far more than which oil you pick.
Why is my cast iron tawa sticky after seasoning?
A sticky surface almost always means too much oil was left on the pan. Heat it again until it stops smoking, or scrub it back and rebuild with much thinner layers.
Can I use soap on a seasoned cast iron tawa?
A little mild dishwashing liquid is fine on a well-seasoned pan. What damages seasoning is soaking, harsh scouring and leaving the pan wet, not a quick wash with soap.
How often should I re-season a cast iron tawa?
If you cook on it regularly and oil it lightly after washing, you may never need a full re-seasoning. Do it only after rust, flaking, or long storage has left the surface patchy and dry.
More on this topic: all seasoning articles →
Pictures: how-to-season-cast-iron-tawa.jpg (cover) — Dan Zen, CC BY 2.0.
Follow the RIVEDA blog
One short email a week with new articles — cast iron cooking, care and recipes for Indian kitchens. No spam; unsubscribe in one click.