
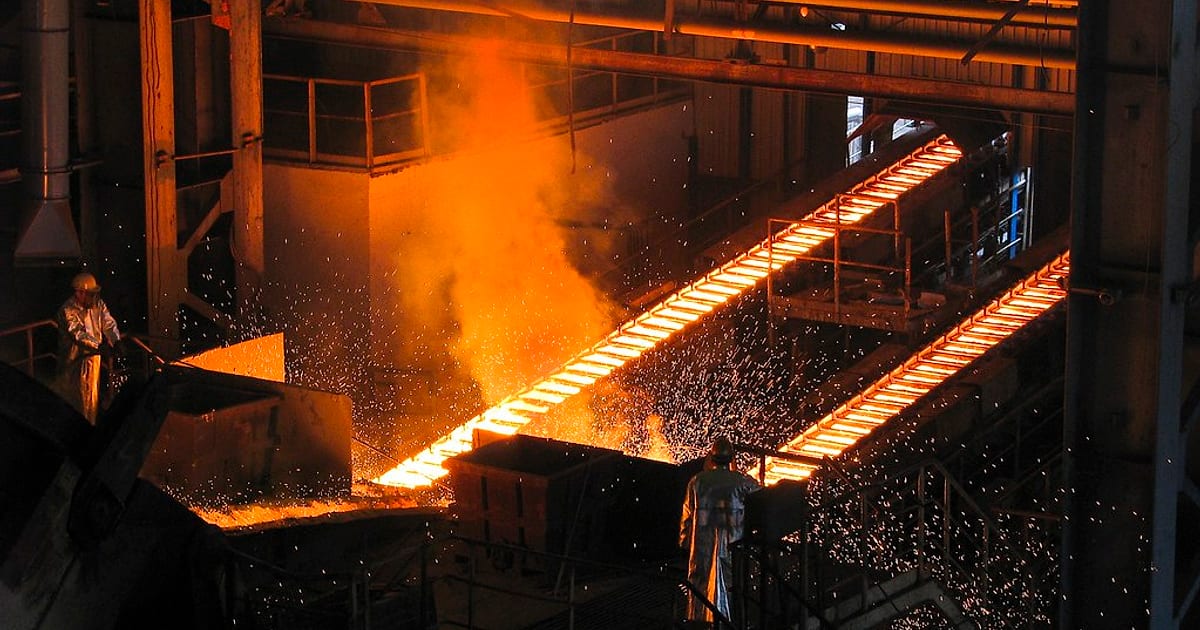
Every cast iron tawa starts life as a glowing pool of liquid metal. It is poured into a hollow made of sand, left to cool, and then ground, cleaned, checked and seasoned until it is ready for your roti. That is the whole story in one sentence. The rest of this article walks through each step, so the next time you flip a dosa you know exactly where your pan came from.
Most of us never see where our cookware comes from. We see a shop shelf, a price card and a photo. But a lot of what makes a pan good or bad is decided long before it reaches you: how it was moulded, how carefully it was cleaned, and how it was seasoned.
Knowing the steps also helps you at home. You will understand why a new pan has a slightly grainy feel, why it is heavy, why it needs oil, and why it can last for decades. If you are new to the material, our cast iron cookware guide for India gives the bigger picture. This article zooms in on the making.
One honest note before we start. The steps below follow how sand-cast iron cookware is made in general, and the pictures come from other foundries and workshops, credited under each one. RIVEDA cookware is sand-cast at our own foundry in Rajkot, and our pieces go through grinding, sand cleaning, quality checks and seasoning before dispatch. We have not tried to describe our own floor beyond that.
Step 1: Start with a pattern
Before any iron is melted, someone has to decide the shape. That shape is made first as a pattern. A pattern is a solid model of the pan, usually made of wood or metal. It looks like the pan, but it is only a tool for making the mould.
A pattern is made slightly bigger than the finished pan. Metal shrinks a little as it cools, so the pattern allows for that. Foundry references give the shrinkage of grey iron, the kind used for cookware, as only around one per cent. It is a small amount, but it decides whether a lid fits or a handle sits right.
The pattern also carries the details you can feel: the curve of a kadai, the rim of a tawa, the shape of a handle.
Step 2: Build a mould out of sand
This is the step that gives the method its name. Sand casting means making the mould from packed sand.
The pattern is pressed into a mix of sand, clay and a little water. The mix holds together like damp sand on a beach, firm enough to keep a shape. When the pattern is lifted out, it leaves a hollow in exactly the shape of the pan.
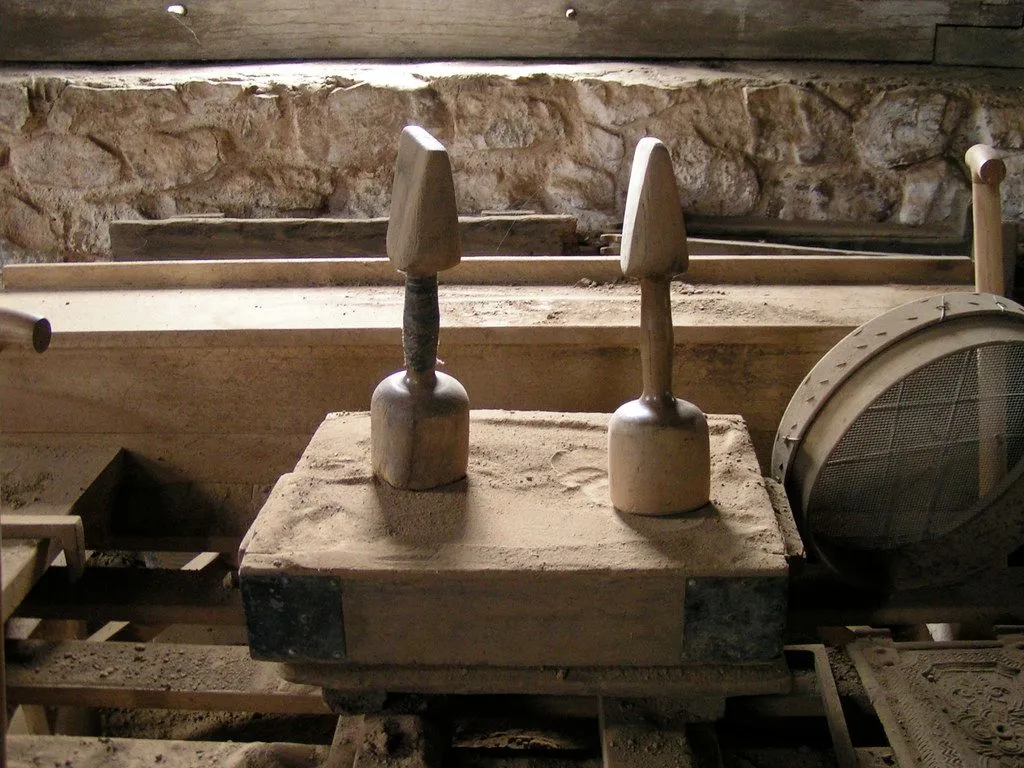
A wooden mould box and hand rammers, the tools used to pack sand around a pattern. Photo: reivax, CC BY-SA 2.0.
Moulds are made in two halves. The upper half is called the cope and the lower half is the drag. When the two are placed together, the hollow in the middle is the pan. Small channels are cut so the metal can run in, and so the air inside can escape as the liquid fills the space.
Here is the part many people do not know. Each sand mould is used only once. To take the pan out, the mould has to be broken. The sand is not wasted, though. Foundries clean and reuse it again and again. So the thing that is thrown away is only the shape, never the material.
Because every pan comes out of its own fresh mould, no two sand-cast pieces are exactly alike. You may see a faint grain, a small difference in the underside, or a slightly different edge. That is a sign of how the pan was made, not a fault.
Step 3: Melt the iron
Now the iron itself. Cast iron is mostly iron, with a little carbon added. That carbon is the difference between cast iron and the plain iron sheet used for some tawas. It makes the metal easy to pour into shape and gives it the weight and heat-holding qualities cooks love. If you are curious about the difference, we explain it in cast iron vs iron tawa.
The iron is heated in a furnace until it turns to liquid. One industry source describes temperatures above 2,700 degrees Fahrenheit, which is over 1,400 degrees Celsius. That is far hotter than any kitchen flame. At that heat, iron glows orange-white and flows like thick syrup.
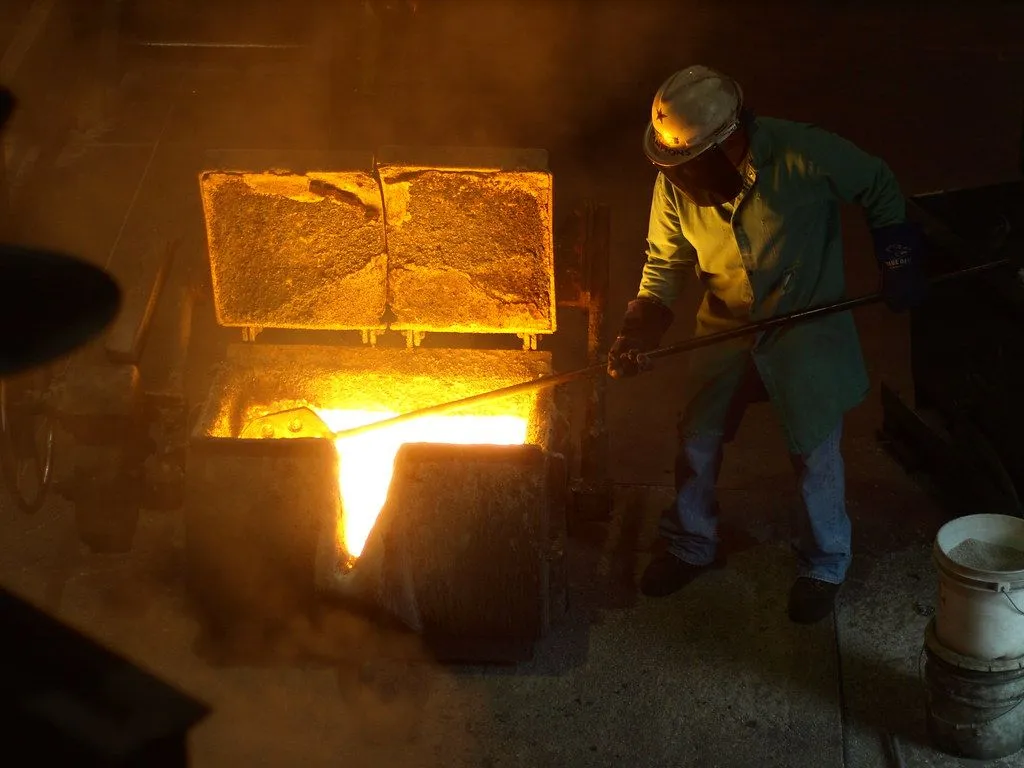
Molten metal glowing inside a foundry furnace. Photo: tinkerbrad, CC BY 2.0.
While the iron is molten, foundry workers watch its makeup closely. The amount of carbon matters, so does the cleanliness of the melt. Dirt, loose slag and gases can cause tiny flaws in the finished pan. This is why a good foundry spends a lot of care on the melt before a single pan is poured.
Step 4: Pour into the mould
The liquid iron is carried to the moulds in a ladle, a big metal cup held on handles or a frame. Workers wear thick heat-proof clothing, gloves and face guards for this job.
Pouring looks dramatic, but it is slow and careful work. Iron must go in steadily. If it splashes or rushes, it can trap air or bring bits of sand into the metal. Those can show up later as small holes or rough spots in the pan.
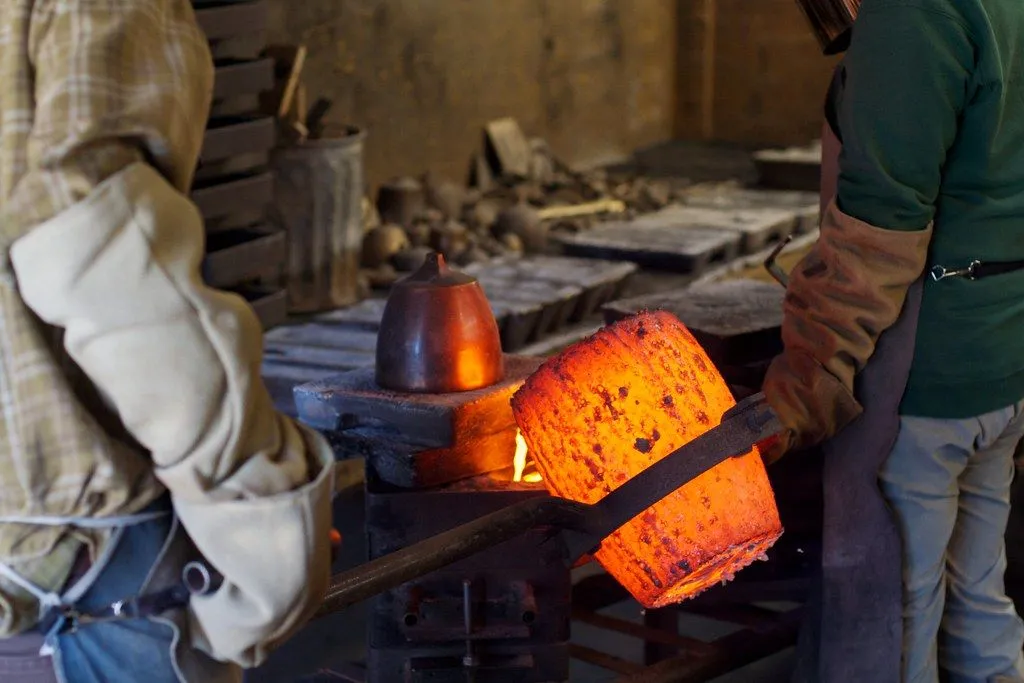
Pouring molten metal from a ladle into a sand mould at a small foundry. Photo: Unhindered by Talent, CC BY-SA 2.0.
Once the mould is full, the metal begins to cool and harden. For a thick piece like a tawa or kadai, this takes time. It is not something you can hurry. Foundries let each piece cool properly before it is moved.
The picture above shows a small workshop. The idea is the same in bigger foundries: pour steadily, then let the iron set.
Shake out the sand
When the iron has cooled enough to hold its shape, the mould is broken open. This is called shakeout. The sand falls away, and the rough casting is lifted out.
It does not look like cookware yet. It looks like a dark, dusty pan covered in sand, with leftover metal attached. That leftover metal is from the channels that fed the mould. It is called the runner and riser, and it has to be cut off.
A good foundry does not waste this metal. Offcuts can be melted again for later use. So even the “waste” of casting goes back into the process.
Step 5: Grind, trim and sand-clean
Now the pan has to be made smooth enough to use. Three jobs happen here.
- Trimming. The extra metal from the channels is removed.
- Grinding. A grinder smooths sharp edges, rough seams and any lumps on the surface. This is the step that makes a rim comfortable to hold and a handle safe to grip.
- Sand cleaning. Grains of mould sand can stick to the surface. Cleaning removes them so the pan is clean and even. Industry sources describe shot blasting, where tiny metal pellets are blown at the pan to knock the sand off.
This is why a new cast iron pan still has a fine, slightly matte texture. It is the sand-cast surface, cleaned up. It is also why seasoning works so well. Tiny pores in the iron hold the oil, and the oil bonds into them.
Grinding and sand cleaning are not the glamorous part of the story, but they are where a lot of the quality comes from. A rough, badly finished pan is usually a pan that skipped these steps.
Check every piece
Casting can go wrong in small ways. A sand grain can sit under the surface. A tiny air bubble can hide just under the skin of the metal. A thin wall can crack.
So pieces are looked over carefully. Some flaws only show up after sand cleaning, once the surface is bare and clear. That is why checking happens after the cleaning step, not just before it. A piece with a crack, a blow hole or a bad surface is set aside and does not go to a customer.
For you as a buyer, this is the quiet step that matters most. A pan that passes a careful check is a pan you can trust on the stove.
Step 6: Season it
The last big step turns a raw iron pan into a ready-to-cook pan. Seasoning means coating the iron with a thin layer of cooking oil and heating it until the oil bonds to the metal. It turns into a hard, dark, slick layer.
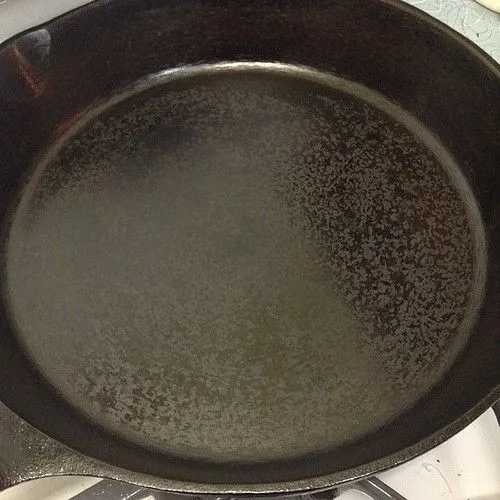
The dark layer inside a cast iron pan, partway through seasoning. This is a home skillet, not a RIVEDA piece. Photo: blakewinton, CC BY 2.0.
That dark layer does two jobs. It helps food release more easily, and it protects the iron from rust. It is the reason an old family tawa looks black and glossy.
RIVEDA pieces are supplied pre-seasoned, so you can begin cooking as soon as it arrives. The layer keeps improving every time you cook with it. If you want to build it up even faster, our guide on how to season a cast iron tawa has the step-by-step, and the seasoning page covers the basics. For daily upkeep, see the care page.
What the ZED mark means
You may have seen that RIVEDA is made at a ZED-certified foundry. What is that?
ZED stands for Zero Defect, Zero Effect. It is a government scheme for small and medium manufacturers, run by the Ministry of Micro, Small and Medium Enterprises with the Quality Council of India. It was launched in 2016. The idea is easy to say: make products with no defects, and make them in a way that has no harmful effect on the environment.
Under the scheme, a manufacturer is assessed on things like quality, safety, cleanliness and environmental care. Certification comes at levels, from Bronze up to Gold. The Goa MSME page and the Drishti IAS explainer in our sources describe the scheme in more detail.
We say only this about our own foundry: it is ZED certified. We do not claim more than that. The scheme is a useful sign that a manufacturer has gone through an outside assessment, though it is not a guarantee about any single pan.
From the foundry to your kitchen
After seasoning, the pieces are packed and sent out from Rajkot. You can buy them on rivedacookware.com and pay by UPI, card or net banking through Razorpay. We ship across India and do not offer cash on delivery. If a piece arrives damaged, defective or wrong, you can return it within 7 days of delivery. The FAQ page has the details.
Two pieces show the process well.
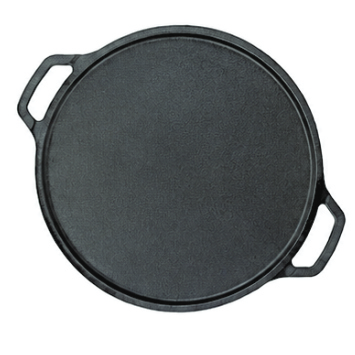
- The Cast Iron Double Handle Dosa Tawa 30 CM weighs 2.8 kg. It is a flat, thick casting with two side handles, good for dosa, uttapam and roti.
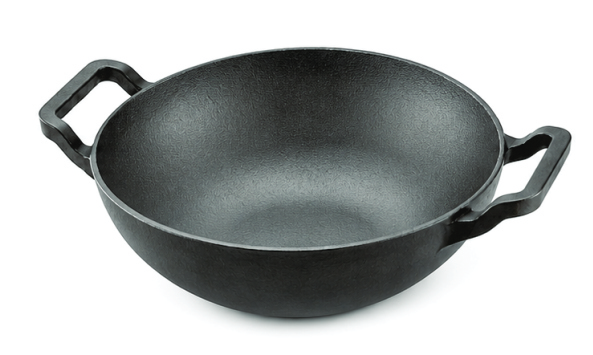
- The Cast Iron Kadai 27 CM weighs 2.7 kg. It is a deep, rounded casting with two side handles, made for curries, sabzi and frying.
Both work on gas and on induction. Always follow your hob maker’s guidance on base size and weight.
If you are choosing a tawa, our cast iron tawa guide helps you compare shapes and sizes. For all the pieces together, look at the tawas and kadai pages.
What the making tells you about using it
Once you know how a pan is made, a few kitchen habits start to make sense.
- It is heavy because it is thick. That thickness holds heat steadily, which is why a hot tawa does not cool when you pour batter on it.
- It heats slowly. Give it a few minutes on the flame before cooking.
- It likes oil. The pores in the surface hold oil. Wipe a thin layer after washing and drying.
- It dislikes water left sitting. Iron rusts when it stays wet. Dry it fully, on a low flame if needed. If rust ever shows up, it is fixable; see how to remove rust from cast iron.
- Slight grain is normal. A sand-cast surface is not mirror-smooth, and it does not need to be.
The journey in one list
Here is the journey in one list.
- A pattern gives the shape.
- Sand is packed around it to make a mould, used once.
- Iron is melted in a furnace.
- The liquid iron is poured into the mould.
- The mould is broken and the casting is lifted out.
- Extra metal is trimmed, edges are ground, and sand is cleaned off.
- Every piece is checked.
- The piece is seasoned with oil.
Next time you hold a tawa, feel the weight and the fine grain. Each one came out of a single sand mould that no longer exists. That is a nice thing to think about while the first dosa of the morning sizzles.
Shop this article
Frequently asked questions
How is a cast iron tawa made?
Iron is melted, poured into a mould made of sand, and left to cool and harden. The sand is broken away, the rough edges are ground off, the piece is cleaned and checked, and finally it is seasoned with oil so it is ready to cook on.
What is sand casting?
Sand casting means shaping metal in a mould made of packed sand. The sand holds the shape of the pan while the hot iron is poured in. The mould is broken to take the pan out, and the sand is cleaned and used again.
Why is cast iron cookware so heavy?
Cast iron is poured as a thick, solid piece. That thickness is what holds heat steadily for dosas, rotis and frying. It also means a tawa or kadai feels weighty in your hand.
Why does a new cast iron pan have a rough surface?
Sand-cast iron keeps a fine, grainy texture from the sand mould. Grinding and sand cleaning remove sharp edges and loose grains, and seasoning fills the tiny pores with oil. Regular cooking smooths the surface further over time.
What does pre-seasoned mean?
It means the maker has already baked a thin layer of oil onto the iron before sending it to you. You can start cooking right away, and the layer keeps getting better with use.
Is cast iron cookware made in India?
Yes. India has a long tradition of iron casting, and RIVEDA cookware is cast and finished at our own ZED-certified foundry in Rajkot, Gujarat.
Sources
- How Cast Iron Cookware Is Made: Inside the Melting, Casting, and Finishing Process — Dynamo Furnaces
- How It's Made: Crafting Stargazer Cast Iron Cookware — Stargazer Cast Iron
- Sand Mold Casting — The Cast Iron Collector
- How Cast Iron Is Made: Sand Casting Step by Step — Rustic State
- Zero Defect Zero Effect (ZED) — Directorate of Industries, Government of Goa (MSME)
- Zero Defect Zero Effect Scheme — Drishti IAS
Pictures: how-cast-iron-cookware-is-made.jpg (cover) — Antonis Lamnatos, CC BY 2.0; furnace-melt.jpg — tinkerbrad, CC BY 2.0; sand-mould-tools.jpg — reivax, CC BY-SA 2.0; pour-ladle.jpg — Unhindered by Talent, CC BY-SA 2.0; seasoning-pan.jpg — blakewinton, CC BY 2.0.
Follow the RIVEDA blog
One short email a week with new articles — cast iron cooking, care and recipes for Indian kitchens. No spam; unsubscribe in one click.