
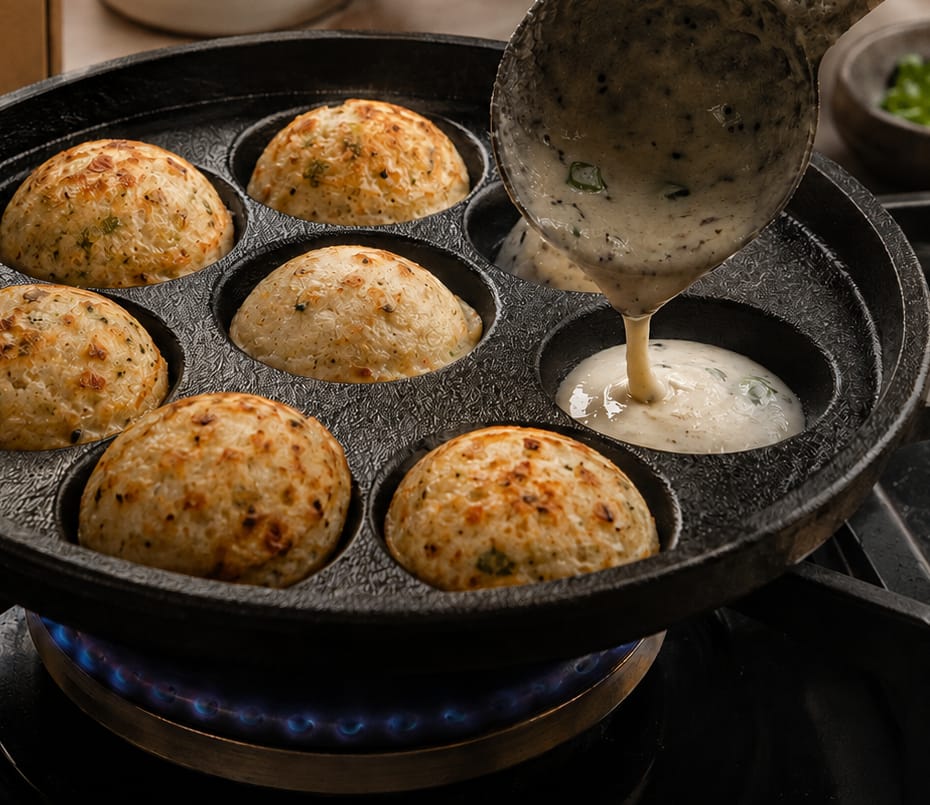
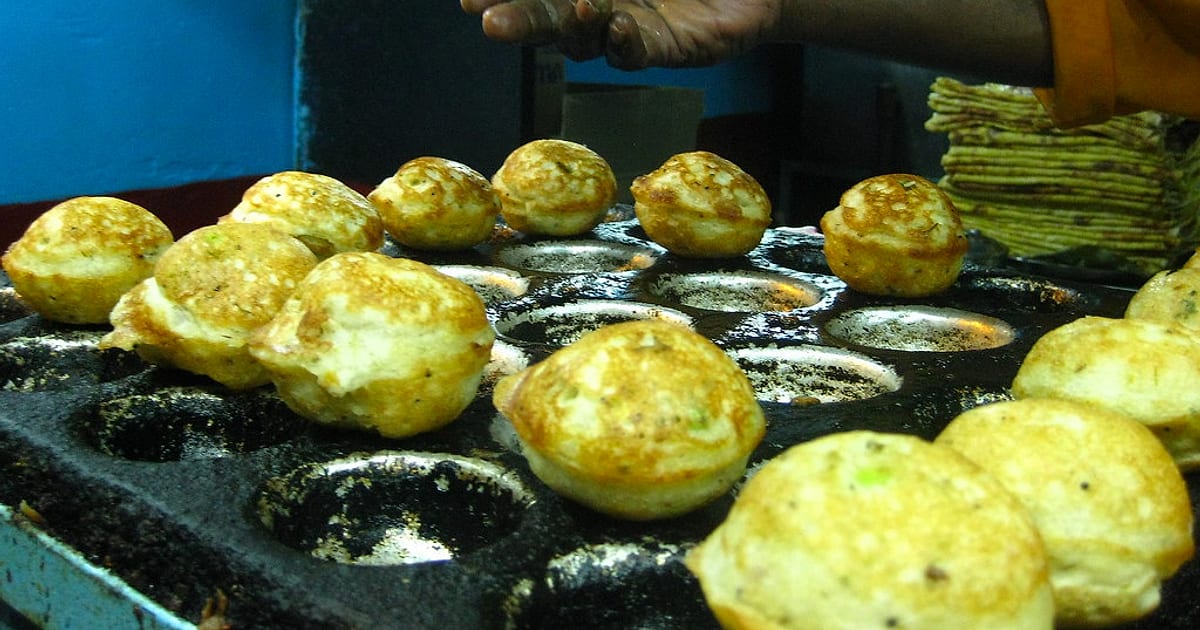
You mix the batter on Saturday night, and by Sunday morning the whole family is hovering near the stove. Round, golden, crisp outside, soft inside. That is what a good appam pan gives you. An appam pan (called appe patra in Kannada, paniyaram chatti in Tamil) is a heavy pan with round pits. Choose 7, 9 or 12 pits for your family size, heat it on medium, add a few drops of oil to each pit, fill about three quarters, cover, and turn each one when the bottom is golden. The rest of this guide explains each step and the small things that make it work.
One pan, many names
The same pan goes by many names across India. In Tamil it is kuzhi paniyaram (“kuzhi” means pit). In Kannada-speaking areas it is paddu or appe. On the coast of Karnataka you may hear guliyappa, and in Telugu homes gunta ponganalu. Wikipedia’s entry on paddu lists these names and notes that the batter is close to idli and dosa batter: rice and black gram (urad dal), soaked, ground and fermented.
The dish can be sweet, made with jaggery, or spicy, made with chillies, onion and curry leaves. The shape stays the same: a small ball with a thin crisp shell and a soft centre.
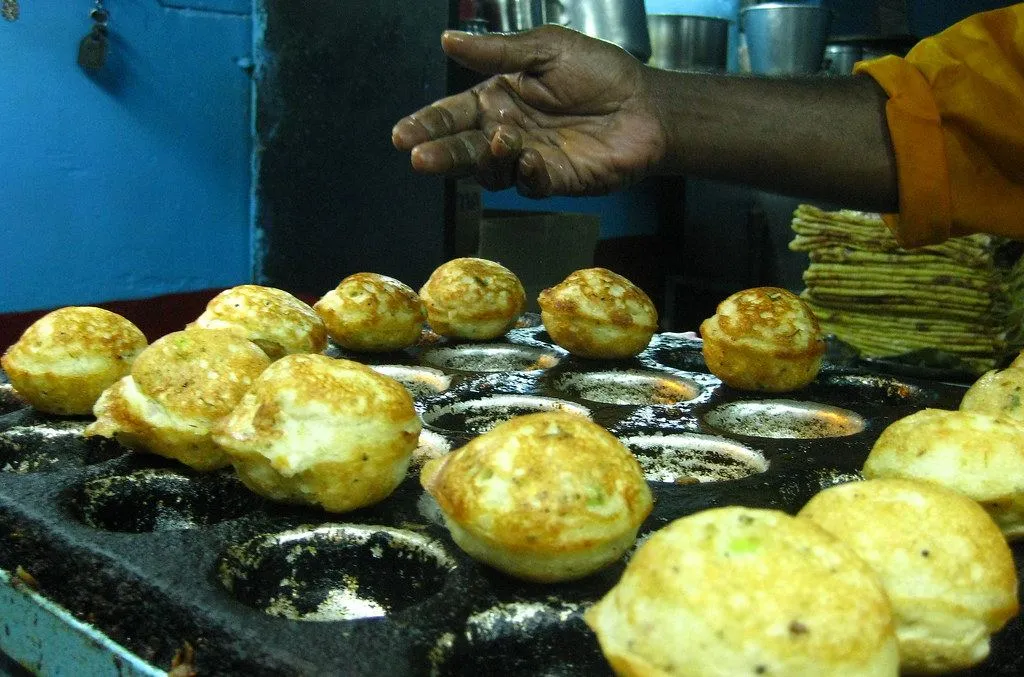 Paddu being cooked in a pit pan at a small eatery. Photo: mojosaurus, CC BY 2.0.
The shape is not only Indian. Denmark has æbleskiver, round pancakes cooked in a pan with half-round wells. According to NPR and Wikipedia, those are turned with a knitting needle or skewer, and the pans are usually cast iron because it holds heat well. Nobody has clearly shown whether the two traditions are linked, so we will not guess. What is clear is that cooks in different countries all arrived at heavy iron for this job.
Why cast iron suits a pit pan
A paniyaram needs two things at once: strong, steady heat at the bottom, and gentler heat around the sides so the centre cooks through. Thin pans lose heat the moment cold batter goes in, and then the batter sticks instead of setting.
Cast iron is thick and stores a lot of heat. When you pour batter into a hot pit, the metal does not cool much, so the batter sets at once into a golden shell. Many old homes used the iron paniyaram pan for exactly this reason.
It also means you can use a modest amount of oil. A seasoned cast iron surface releases food better with every use. If you want the full story of the black layer on a pan, read what pre-seasoned really means.
7, 9 or 12 pits: which one?
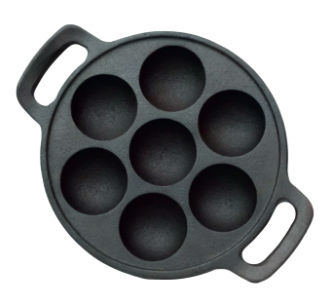
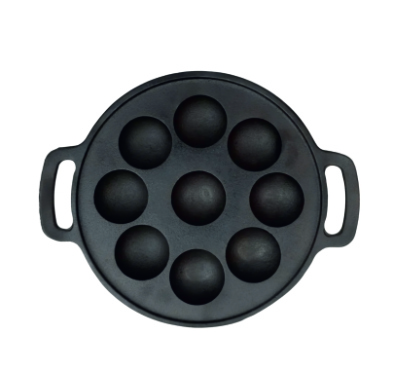
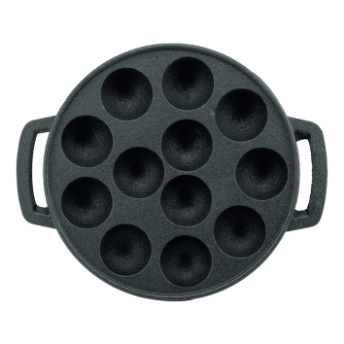
RIVEDA makes three sizes. All are cast and finished at our own ZED-certified foundry in Rajkot, are sand-cast, and arrive pre-seasoned.
| Pan | Pits | Weight | Good for |
|---|---|---|---|
| Cast Iron Appam Pan 7 PIT | 7 | 1.6 kg | One to three people, quick breakfasts, a small burner |
| Cast Iron Appam Pan 9 PIT | 9 | 2.3 kg | The everyday family size |
| Cast Iron Appam Pan 12 PIT | 12 | 2.4 kg | Cooking in volume for guests or tiffin boxes |
Some ways to decide:
- Count the mouths. A batch takes about 10 to 15 minutes. With a 7-pit pan, a family of four will make two or three rounds. With 12 pits you may finish in one or two.
- Check your burner. A bigger pan needs a burner and a cooking space that can handle it. The 12-pit pan is the largest in our range, yet it is only slightly heavier than the 9-pit, so it is not as hard to handle as you might fear.
- Think about weight. Every pan gets heavier once it is full of batter. If you will lift it often or move it from stove to table, the 7 or 9 is easier.
- Think about the hob. All three work on gas and induction. Always follow your hob maker’s guidance on base size and weight.
If you are unsure, the 9-pit pan is the one most homes pick. It cooks a full round for a family without crowding the burner.
Before the first batch
Our pans are supplied pre-seasoned, so there is no long first-use ritual. Still, a short warm-up helps:
- Wash with plain warm water and a soft brush. Dry it fully with a cloth.
- Put it on the flame for a minute to drive off any hidden moisture.
- Add a few drops of oil to each pit and spread it with a folded cloth or a Silicon Brush. Many recipe writers say to heat the pan until it is hot, oil it, and then begin.
For the first few weeks, cook the oily, simple things: paniyaram, parathas, tadka, shallow-fried snacks. These build seasoning. Very sour, wet dishes cooked for a long time are better left for later. Our seasoning guide and the article on how to season a cast iron tawa show how the layer builds, and the same ideas apply to a pit pan.
The batter: thick, not runny
A pan can only do so much if the batter is wrong. Cooks who write about paniyaram trouble agree on a few points.
- Use idli or dosa batter. Leftover batter from the fridge works well. A batter a day or two old, even a little sour, is popular. Swasthi’s Recipes and other food writers use exactly this.
- Keep it thicker than dosa batter. A runny batter spreads, absorbs more oil and sticks. It should fall from a spoon in a slow ribbon, not pour like water.
- Mix in flavour. Chopped onion, green chilli, curry leaves, grated carrot, coriander or a pinch of salt and soda all work. For a sweet version, add jaggery and cardamom.
- Rest it. Give it a stir and a few minutes after adding anything, so the mix is even.
A simple test: drop a little batter in a hot pit. It should sizzle softly and begin to set at the edges at once.
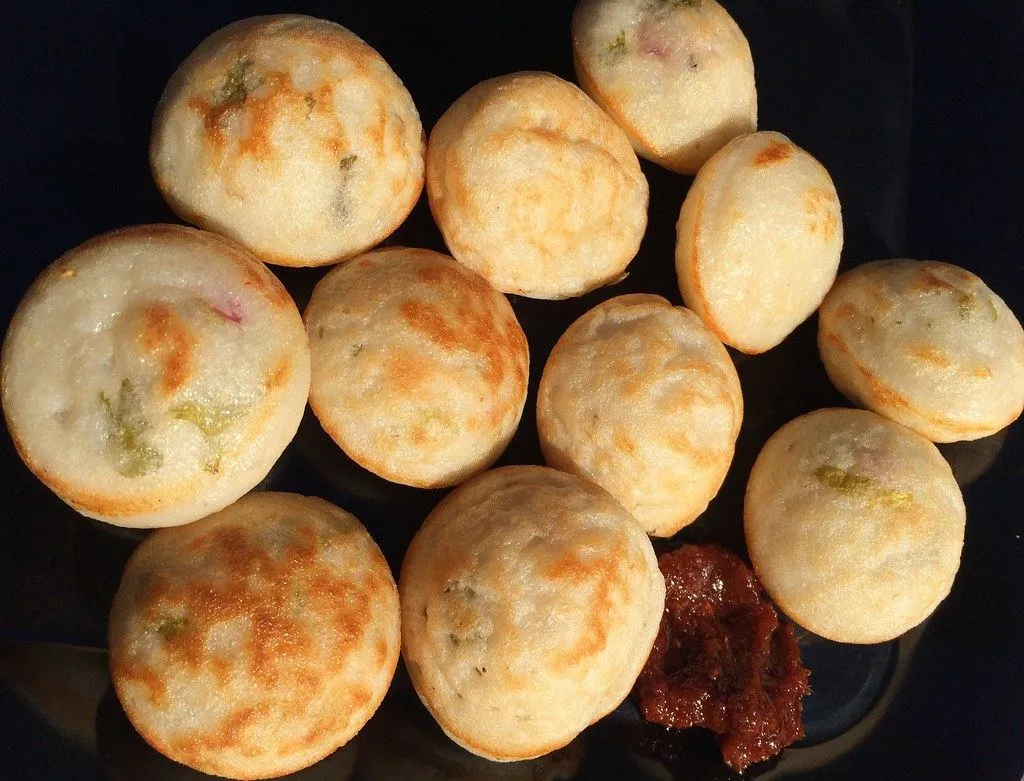 Finished paniyaram: crisp, golden outside. Photo: balusss, CC BY 2.0.
Heat, oil and filling: the three-part rhythm
Most failures come from one of these three. Learn them once and every batch gets easier.
Heat: medium, then patience
Heat the pan on medium for a couple of minutes first. Sources on paniyaram advise medium heat, and warn that a very high flame burns the outside and makes food stick. If the bottoms brown faster than the tops set, lower the flame a notch. A cast iron pan holds heat so well that you can often turn it down once the pits are hot.
Oil: a few drops per pit
A common suggestion in recipes is about a quarter teaspoon of oil in each pit once the pan is hot. Sources do differ, and cast iron generally wants a little more than a non-stick pan, so use your eyes. The pit should look glossy, not pooled. Add a few fresh drops before every new batch, because the first batch uses up the oil that was there.
A silicon brush gives a thin, even film. A teaspoon works too, but it is easier to overdo.
Filling: about three quarters
Spoon the batter in until each pit is about three quarters full. The batter rises as it cooks, and an overfull pit spills over and joins its neighbours. Use a small ladle or a spoon with a spout. If you make a lot of paniyaram, a small steel measuring cup with a lip is handy.
Covering, waiting and flipping
Once the pits are filled, put a lid on. A lid keeps steam in, so the top of the batter cooks while the bottom browns. Any flat lid that sits over the pits works, or even a steel plate.
Then wait. Resist the urge to poke. Most recipes say a few minutes, until the bottom is golden brown and the top looks nearly set and slightly dry. Lift one edge with a skewer or small spoon to check the colour underneath.
How to flip
- Slide a thin wooden or steel skewer, or the tip of a small spoon, under the edge of each ball.
- Tilt it up and turn it over in its own pit.
- Cook the second side for another couple of minutes, with the lid on if the top still looks wet.
- Check doneness by pricking one with a toothpick. It should come out clean.
The Danish pan works in a similar way, but the cook turns the ball a quarter at a time to make a full sphere. In an Indian paniyaram pan the common method is a single flip, and you get a round dome on top and a flat golden base. Both are good.
When things go wrong
| Problem | Likely reason | What to do |
|---|---|---|
| Sticks to the pit | Pan not hot enough, too little oil, or flipped too early | Heat for longer, add oil, and wait until the base is golden |
| Brown outside, raw inside | Flame too high, or no lid | Lower the heat, cover the pan, cook longer on the first side |
| Batter spreads and merges | Batter too thin or pits overfilled | Thicken with a spoon of rice flour or rava, fill to three quarters |
| Pale and soft, no crisp | Pan too cool, or too much steam | Raise the heat a little, lift the lid for the last minute |
| Oily and heavy | Too much oil, thin batter | Use a few drops only, and thicken the batter |
| Sticks only in the first weeks | Seasoning still building | Keep cooking oily things, and see the care page |
If a few pieces stick, do not scrub the pan hard. Let it cool a little, soften the stuck bits with warm water, and lift them off with a wooden or silicon tool.
Cleaning and storing
Good care takes two minutes after breakfast.
- Wash while the pan is still warm with hot water and a soft brush. A little mild soap now and then is fine.
- Dry fully. Wipe it, then put it on the flame for a minute until every pit is dry. Water left in a pit is where rust starts.
- Wipe a very thin film of oil into each pit and rub most of it back off.
- Store in a dry place with some air, especially in the monsoon.
Do not soak the pan, put it in a dishwasher, or leave it wet on a rack. If a spot of rust does show up, it is easy to fix. Follow our rust removal guide, and read the care page for the everyday basics. Because a pit pan has many small curves, a cotton bud or a folded cloth helps you reach the corners.
Beyond paniyaram: other things to cook in the pits
An appam pan is not a one-dish tool. Once you have the rhythm, try:
- Sweet paniyaram with jaggery, banana and cardamom.
- Rava or oats appe for a quick breakfast without fermenting.
- Egg bites, cracking a little egg mix into each pit.
- Ponganalu with an onion-chilli topping, a Telugu favourite.
- Stuffed bites, with a spoon of spicy potato or paneer pressed into the batter before you flip.
- Mini dhokla-style or poha-based bites from leftover mixes, set with a lid on.
All of these follow the same rhythm: hot pan, few drops of oil, three-quarters full, lid on, flip when golden.
Is it right for your kitchen?
Think about how you really cook. If appe and paniyaram are a weekend treat, a 7 or 9-pit pan is plenty. If you often feed a crowd, the 12-pit pan saves time. If you cook for a small family and want a pan to last years, any of the three, looked after properly, will serve you well.
An appam pan also pairs naturally with the other cast iron you may own. Our overview of cast iron cookware in India will help you plan a small set, and the cooking guide shows how each piece behaves on the stove. If you are using induction, read cast iron on induction first.
RIVEDA pans ship across India from Rajkot. You can order on rivedacookware.com using UPI, cards or net banking, or ask us a question on WhatsApp at +91 90999 29629. If something arrives damaged, defective or wrong, you can return it within 7 days of delivery. Browse the full range in our appam pans collection, and pick your pit count with the table above.
The short version
- Pick 7, 9 or 12 pits by family size and burner.
- Use thick batter, idli or dosa style.
- Heat on medium, a few drops of oil per pit, fill three quarters.
- Cover it and flip when the bottom is golden.
- Dry the pan on the flame after washing and wipe on a thin film of oil.
Your first batch may stick a little. By the third weekend, the pan will feel like it was always yours.
Shop this article
Frequently asked questions
How much oil should I put in each pit of an appam pan?
Recipe writers commonly suggest about a quarter teaspoon in each pit once the pan is hot. A new or thinly seasoned pan may want a little more, and a well-used one a little less. Add a few drops again before each new batch.
Do I have to season an appam pan before first use?
RIVEDA appam pans are supplied pre-seasoned, so you can start cooking. Many cooks still wipe a little oil into each pit and heat the pan once before the first batch. The seasoning gets better with every batch you make.
Can I use dosa or idli batter for paniyaram?
Yes. Paniyaram batter is very close to idli and dosa batter, which is why so many homes use leftover batter. A batter a day or two old, even slightly sour, works well. Keep it thick enough to hold its shape in the pit.
Why are my paniyaram brown outside but raw inside?
The flame is usually too high, or the pit was turned too early. Lower the heat to medium, keep a lid on and give the first side more time. Check one with a toothpick: it should come out clean.
Can I use an appam pan on induction?
RIVEDA cast iron works on gas and induction. Always follow your hob maker's guidance on base size and weight, as a heavy, full pan with batter in it is more than the empty pan alone.
Is an appe patra the same as a paniyaram pan?
Yes. Appe patra, paniyaram chatti, paddu pan and guliyappa pan are different names for the same pan with round pits. Only the language changes.
Sources
- Paniyaram Recipe (Kuzhi Paniyaram) — Swasthi's Recipes
- Paniyaram Recipe — Sharmis Passions
- Paniyaram Recipe — Spice Up The Curry
- Preventing Paniyaram From Sticking: Tips And Tricks — Cycookery
- Paddu — Wikipedia
- Æbleskiver — Wikipedia
- Æbleskiver (NPR) — NPR
Pictures: appam-pan-guide.jpg (cover) — mojosaurus, CC BY 2.0; street-paddu.jpg — mojosaurus, CC BY 2.0; paniyaram-plate.jpg — balusss, CC BY 2.0.
Follow the RIVEDA blog
One short email a week with new articles — cast iron cooking, care and recipes for Indian kitchens. No spam; unsubscribe in one click.